In the last few weeks, my partners Lauren and Brianna, and I created a video on mixing colors for kindergartens. The purpose of making the video on mixing colors was to teach children about primary and secondary colors as teachers. As I mentioned, this class is about learning how to utilize technology as future teachers, how to apply technology in our classes, and how communicate with our students and parents. Therefore, the purpose of this project was to make a video as teachers and practice working with technology by using TouchCast studio, iMovie or Wevideo, gaining experience on planning, creating, and editing a video.
1.Downloaded two chalkboard images and saved them to Lauren’s Google drive account under her jpg file. In case one of the two chalkboard pictures didn’t work for the green screen, we had a backup.
2. Downloaded Touch Cast on an iPad and made an account. Below is a tutorial of TouchCast studio:

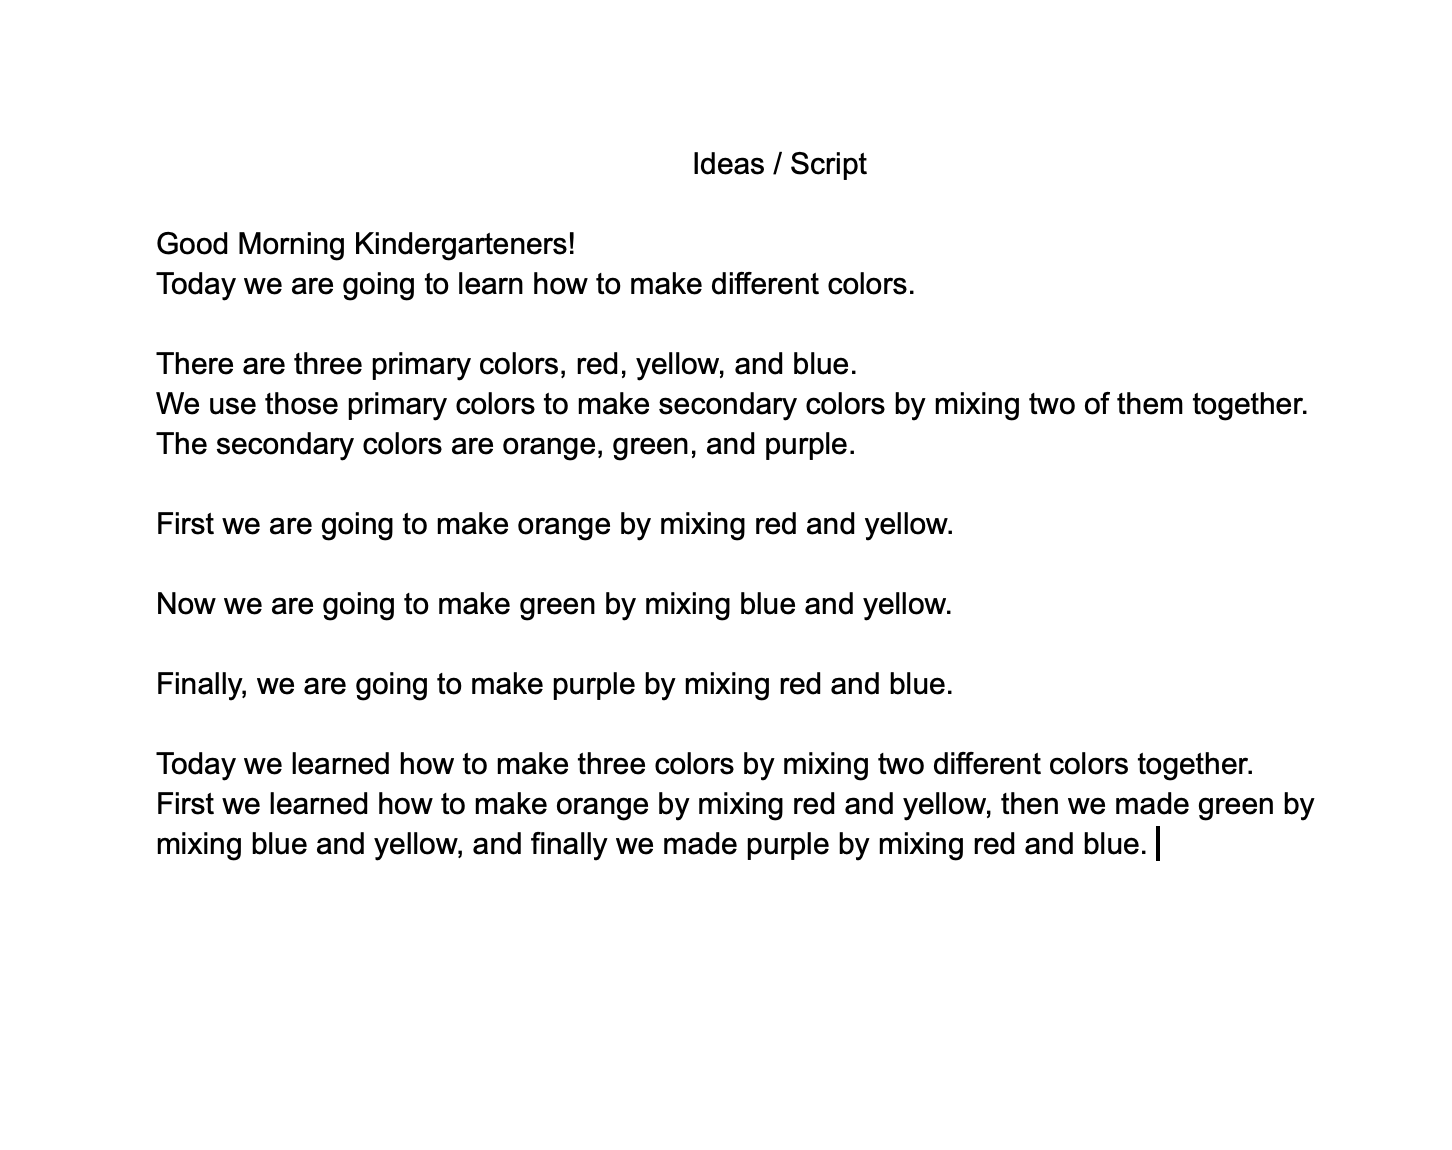
The primary colors that we used were red, yellow, and blue. We made a script to make sure we had structure and organization when making the video. Directly below is the script my partners and I used during film making.
3. After making our script, we went into a room that had a green screen to start filming. Below is an example of what a green screen looks like.

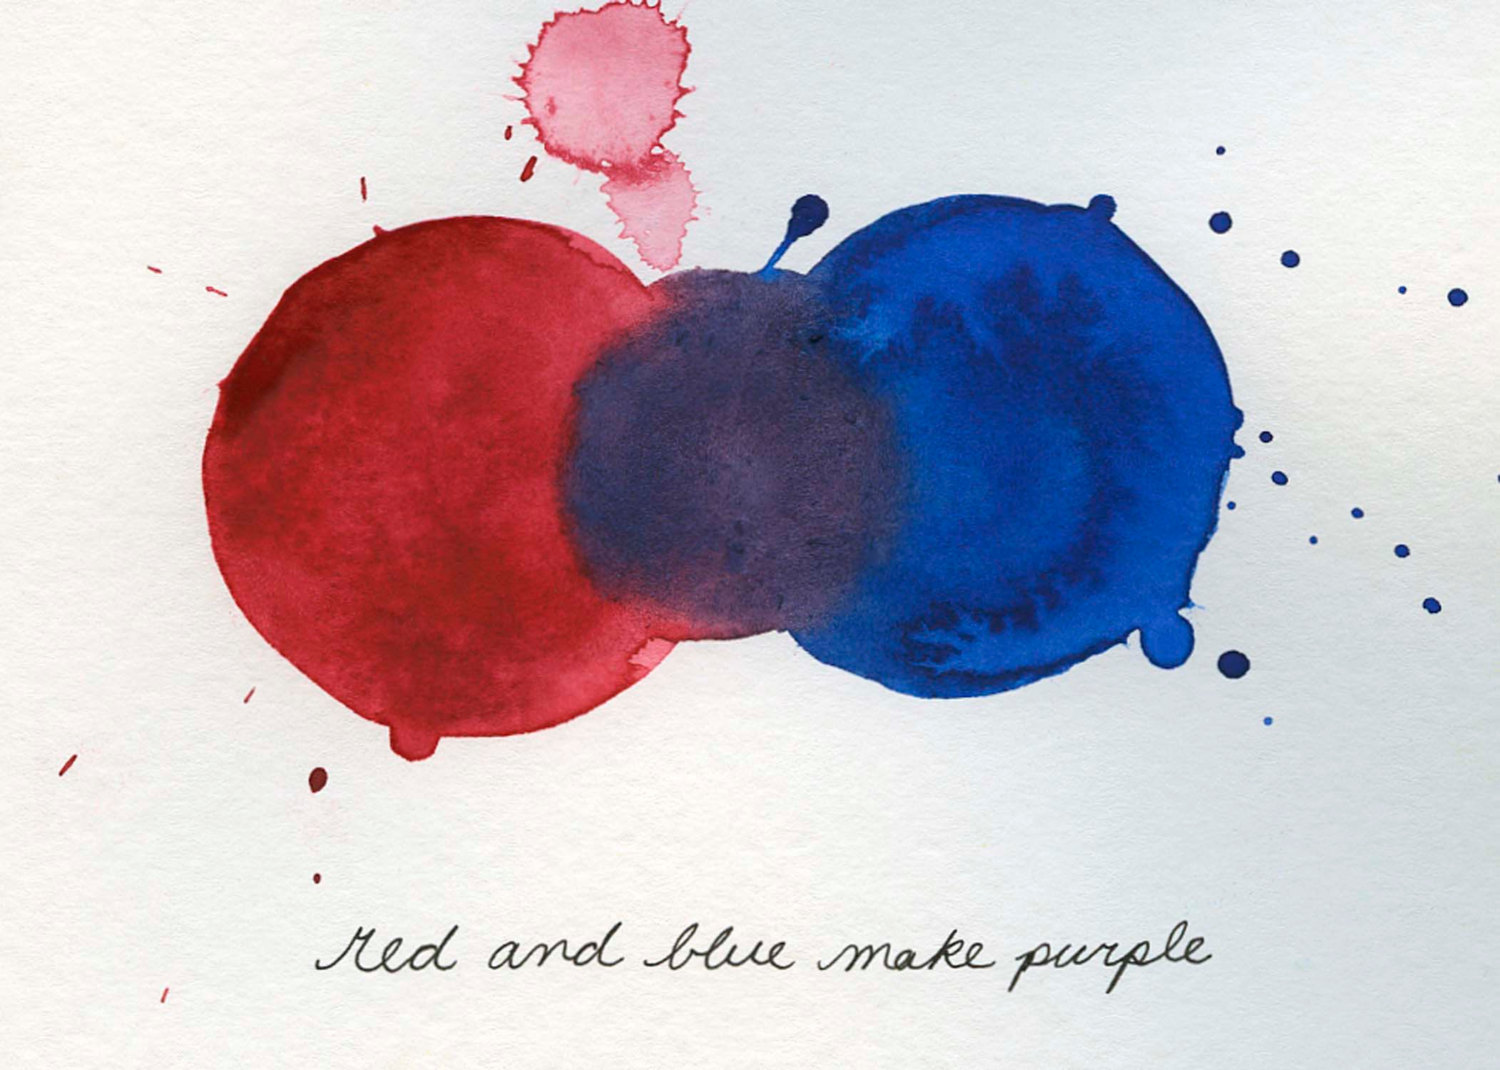
The primary colors that were used and then combined to make secondary colors:


4. My partners and I filmed within one class period on the introduction and teaching what primary colors make secondary colors. The following class period, we finished the conclusion. Lauren shared the video we filmed in our shared folder on Google drive and we individually edited our own video.
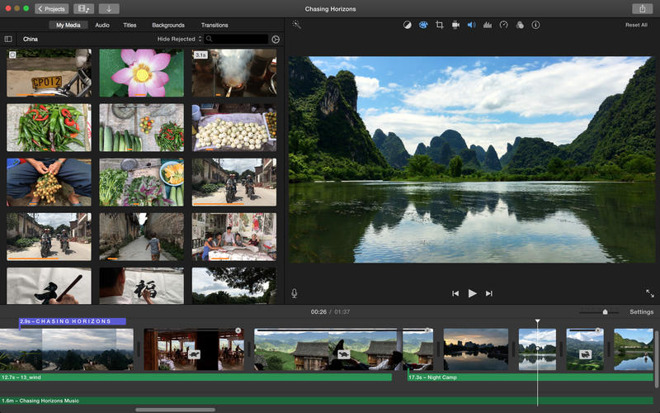
6. We were given the choice of choosing WeVideo or iMovie for editing our video. I used iMovie since it is an app that is installed in MacBooks already. I downloaded the unedited film to my MacBook and started editing. This was my first time editing a video for a class and it was a learning experience dealing with technology. I am very fortunate to be able to take this class because I know by the time I graduate the University of Wisconsin- Platteville and get myself a job at an elementary school, technology will be way more advanced. Therefore, I have to keep up with technology and know how to apply it into my future classroom to connect with parents and allow the community I am from to see all the wonderful things my children and I do in class. For example, when we going on educational field trips, I can film and upload it to my blog for parents to see. I want my classroom to come alive and into the community of the rural or urban area I will live in.
Below is a tutorial on basics of editing a video for beginners on iMovie:
Tip: iMovie is an installed application in MacBooks
7. Overall, I enjoyed making the video and editing. I definitely got out of my comfort zone by trying something new such as this. I had some technology issues with my MacBook freezing up on me multiple times when I was editing my video on iMovie. This taught me to have patiences when dealing with technology because you never know what is going to happen when you’re working with technology. This is another form of teaching children by making a video of myself teaching the lesson and/or filming a video of them acting out a scene from a book read in class to show parents what they are learning. As a future educator, I will doing everything in my power to make sure I know what learning styles my children work best with and truly learn from example.
I attached my video below, I hope you enjoy!
Image Sources:
https://airfreshener.club/quotes/blank-chalkboard-eraser.html
https://www.amazon.com/Fancierstudio-Background-Backdrop-Support-Chromakey/dp/B01ACF5P2K
h
http://cececaldwells.com/blueridge/
https://thisbrazenteacher.wordpress.com/2012/11/01/red-and-blue-make-purple/
https://appleinsider.com/articles/18/11/07/apple-updates-iwork-imovie-for-ios-mac-garageband-for-ios
